Tiny Trousers
Twelve Inch Doll’s Trouser Pattern
My needle-felted doll needs clothes. My friend knew I wanted to make clothes for my figures and let me have a selection of patterns she had for dolls that are twelve inches tall. My figure is only nine and a half inches tall. To adjust the pattern I scanned the pattern and reduced the size on my laptop. This did involve some trial and error in getting the best size.

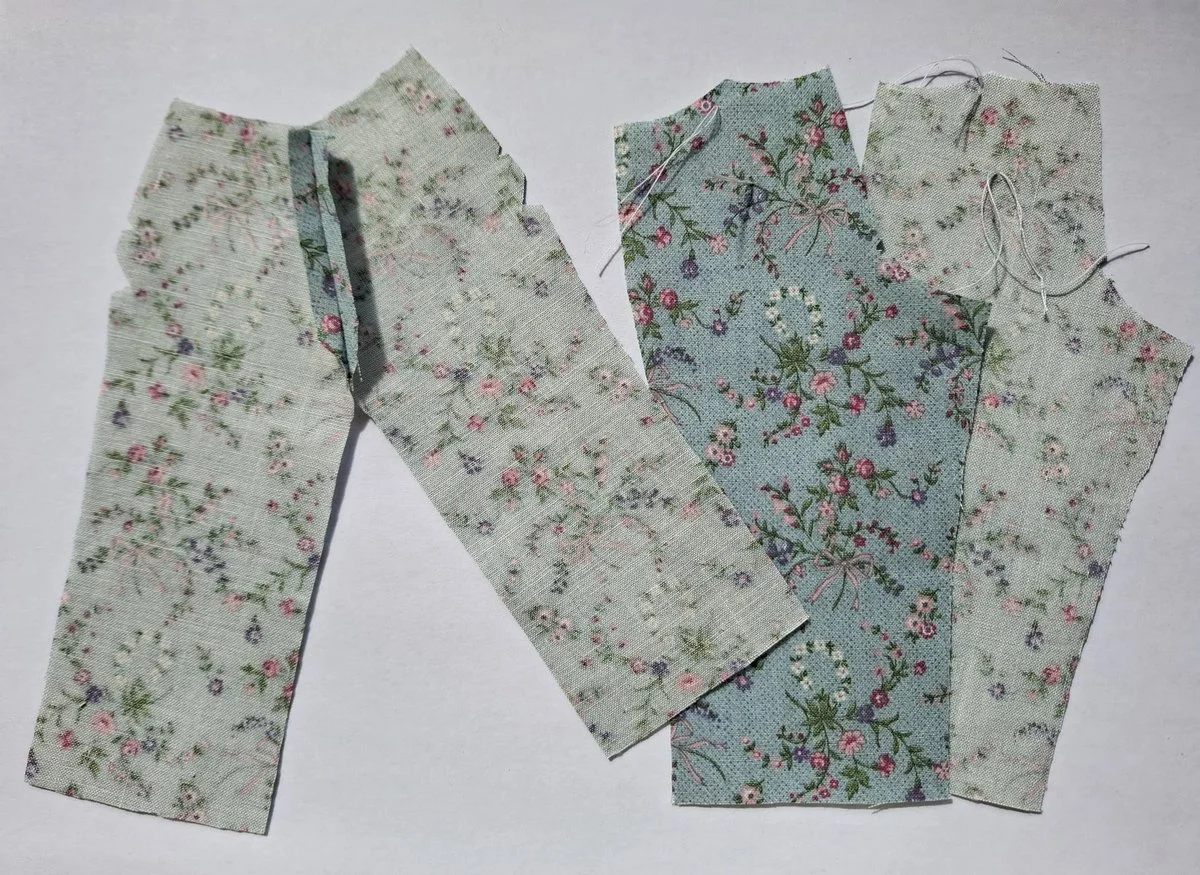
When I choose fabric, I focus on patterns which are the same scale as the item I’m making. A lot of my fabric has been given to me by friends and people I know who are de-cluttering. When I’m asked if I’d like to have their fabric, my first reaction is that I really don’t have the room. The phrase, “I’m going to throw it away if you don’t want it.”, means I accept it as it seems such a shame to do that. This fabric was given to me and is cotton printed in the USA.
This print is quite small and I didn’t want to spend too much time trying to pattern match.

Beginning to Piece Together
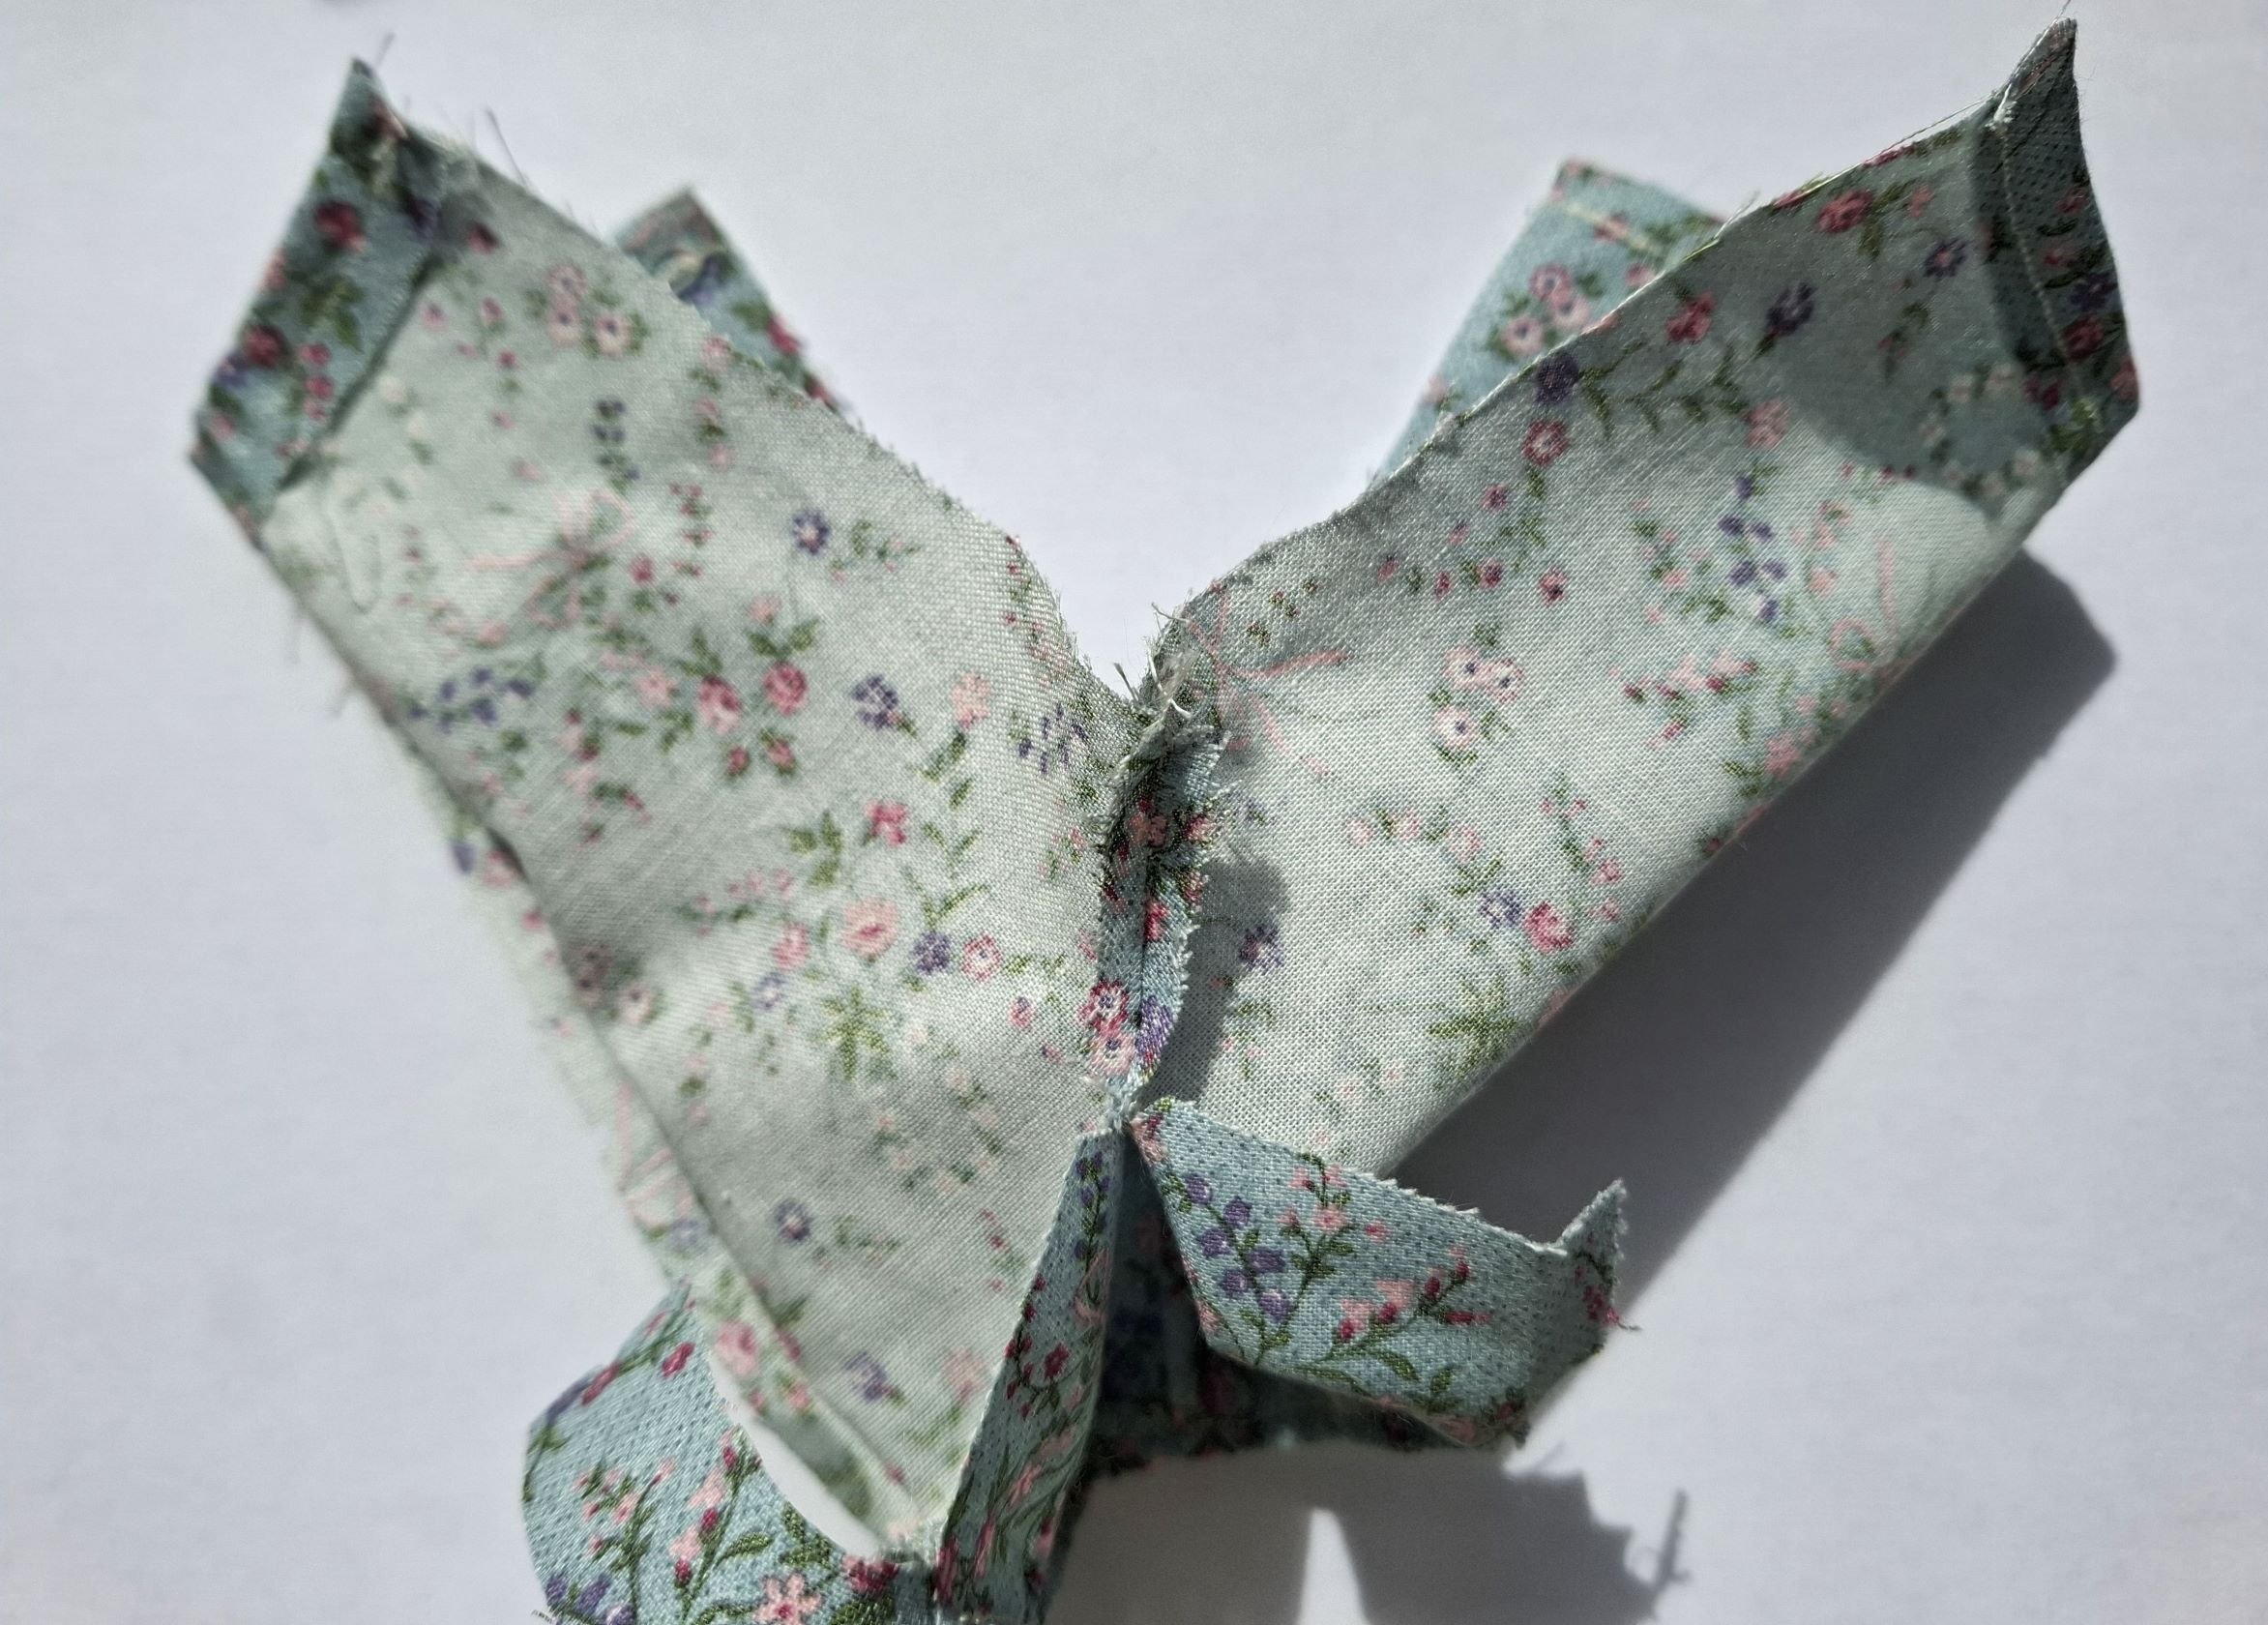
Place the back leg pieces together so that the printed pattern on both pieces are facing each other. Then pin the seam which meet to cover the doll’s bottom. The front leg pieces have marks to make darts in them. I threaded a needle and doubled the thread. Next, I put the needle through the circle marked on the pattern and the two front leg pieces. I removed the pattern. When I part the two pieces, I just snip the thread in between both pieces so each has two threads marking the dart position.
Putting the Darts In
The thread marks the smallest point. The widest point is on the waist of the trousers. By folding the fabric back so that the pattern is on the inside, line the waist of the fabric up so that it creates a continuous curve.

You could try to sew the dart on your sewing machine but I find that the scale is so small, my machine just creates a bird’s nest of threads near the edge of the fabric. I find it easier to hand stitch. I use a simple running stitch. The threads can be easily removed once the fabric has been sewn.

Attaching the Front Legs to the Back Legs
Place the back legs, which have already been joined together, with the printed pattern facing you. Lie one of the front leg pieces either side of the back legs. Make sure the printed pattern is on the underside and then pin and stitch. You can see on the left the dart at the waist of the front leg.

Stitch Sizes
As with the scale of the fabrics printed pattern, I also try to think about the size of the stitches. The down side of the tiny stitches is that unpicking them is more trouble than it’s worth as it can rip the fabric. Once a mistake is made, I have the choice to either start again or try to adapt and resolve it.

On my Bernina sewing machine the top dial is set at two and a half for the stitch width. The bottom lever is set at one and this is the stitch width.
Hemming Width
These trousers are so tiny that hemming them isn’t really possible after the legs have been created. Should you want to elasticate them, it’s best to tack the elastic in first before stitching the hem. To attempt to do this after the hem has been made is trixie as the elastic tends to get stuck at the place where the side seams fold over.

The normal marks on your sewing machine are too large to help you keep the hem the same width. I use the edge of the footer as my guide. I don’t start to sew at the edge of the fabric as it tears the fabric. I start a little way in and then reverse the stitch towards the edge and then move forward again. Sometimes putting a pin in the edge of the fabric gives you something to help you guide the fabric through.

Making the Waistband
Place the two central pieces so that the printed patterns are facing each other, pin and stitch. Now, I have to admit that I made the mistake of putting the front pieces together. These really should be either side of the central panel. This is a mistake I decided I’d try to rectify later as unpicking the tiny stitches is a problem. I’m not pattern matching and these pieces are so small it wouldn’t have taken long to just re-cut them and stitch them properly. We will see how it goes.

Attaching the Waist Band
Line up the edges of the waist band seams with the seams of the legs and pin them. My mistake is now glaringly obvious!

Top Stitching the Waist Band
Turn the waist band over. Here the waist band cannot be seen but if you wanted to elasticate it, then the pattern pieces would need to be deeper. Again, it would be better to tack the elastic in first, before top stitching,

Again, the guide on my sewing machine is too large so I use the gap in the footer, to pass the thread through, to help me.

Take care when going over seams and darts as the fabric can easily gather afterwards and you end up with a tucks you don’t really want. It’s fiddly, so take your time as you are working on such a small scale.

Forming the Trouser Legs
I find it’s best to join the crotch of the trousers together first. Fold the fabric so that the print is on the inside. Fold them at the seam that will cover the doll’s bottom. Opposite this is the crotch which is best if you pin the start and end of where you will sew. You’ll see that there is a gap from the pin to the waist band. This is needed to get the doll’s legs into the trousers.

When you have stitched the crotch, it’s then possible to fold the front trouser legs towards the back trouser legs with the printed fabric still on the inside.

We are nearly finished now. Once the inside legs have been pinned and sewn, you have your tiny trousers.

Lastly, turn the trousers the correct way round and give them a press with an iron. Here, I’ve turned over the edge where the zip would go and pinned it into place. My mistake with the waist band will have to be hand sewn into place, like the zip area, once I’ve put the trousers onto my doll.


Thank you for reading my May Blog. I hope you are enjoying Spring time.